[Product test] everpixx.de I want to introduce a very interesting shop by one can create his own photo book, photo calendars and much more. If it is the online store
everpixx.de and I was given the opportunity to create me a personal photo book and I still would like to share with you now.
The side frames stable viewing and color selection of online stores like it very much. It is non-intrusive and to fit it all together great.
In the "products" reaches adding to a small survey which drops down to. Here you can select which product you want to create. I have then clicked on the photo book.
Now, I then selected the correct product had I only the designing software download.
After installation I opened the program and you can go off.
First, you choose the product. In my case, the photo book.
Then next the cover art. I opted for a hard cover and it clicked on the first image.
Now just select the size and fast already be on your way. My photo book will be a "photo book
S hardcover.
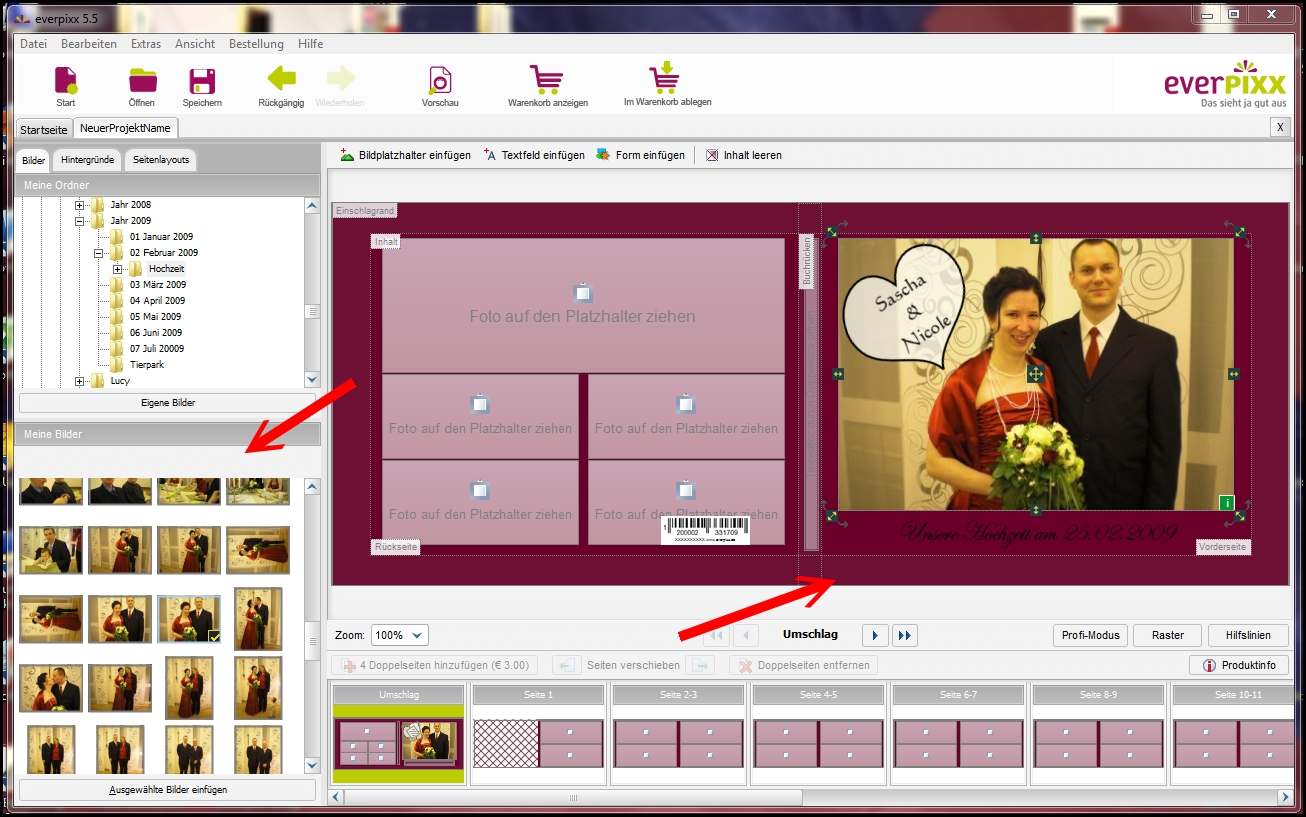
It has now opened a design overview, in which one can already see the rough photo book. In the bottom you can see the individual pages. This can be changed gradually and customize.
First I went for a background. This I then applied to all sides.
Now I could choose my pictures, I want to use. But I'm just in the left pane appropriate folder is selected and then dragged the image to the corresponding placeholder. A text, I then also still the same set in the picture.
Now I am finally settled on the single page layouts. These can be individually determined separately for each side.
After I added all the pictures, I could have a look on the Vorschaufunktin my photo book before.
If everything like simply click on the button basket and then it goes on.
It then opens a window that is displayed by the the quality of the images was checked and whether an error has occurred somewhere. If you want to continue just click on the button.
It is now an order file is created.
After this is done then, you get to the basket and can enter if you have your voucher. Since I had one, I entered this course as well.
Now again check the data and off you go with the order.
The next step is the billing address you specified and then click Next.
now put another hook on the terms and conditions and it can go on.
In this step, you can choose how you want to order his photo book. I have chosen me for the option over the Internet, as this is simply faster. Then just click "Finish" and it goes on.
The data is uploaded and this may take a few minutes. For me it was ruckzuck and I can not complain.
After everything went well you get a notice that the order file has been transferred properly and you will soon a sales order receipt confirmation e-mail receives.
Once you have clicked the OK button above will open a new window by one to be thanked for the order.
I
the ordering process was very good and also the creation of the picture book went well. One has only a little while and try to incorporate into the program, but if you then once it gets along, it goes quickly out of hand.
Now I'm looking forward to my finished product and will report back later.
Thank you in advance to everpixx.de I could test a photo book.


0 comments:
Post a Comment